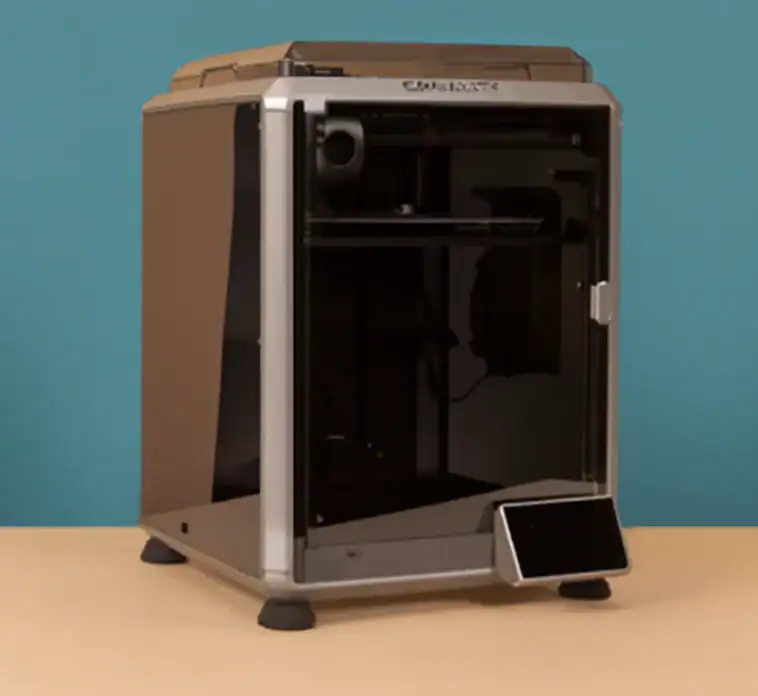
The 3D printing environment has undergone a major transformation in the last few years. Cost-effective printers now provide capabilities that were previously reserved for high-end models. Among such printers, the Creality K1 is the most noticeable, as it is a brilliant machine of the middle range that bridges the gap of less than the professional ones.
This detailed review of the Creality K1 looks at this enclosed CoreXY printer from every angle. The printer’s design, printing quality, software experience, and comparison with alternatives such as the Bambu Lab A1 and P1S will be our focus.
What Makes the Creality K1 Special?
One of the most significant advances in the cheap 3D printing world is the Creality K1. The K1 differs from other open-frame budget printers in that it has a fully enclosed design that not only allows multi-material printing but also ensures that the print remains safe from external factors.
Main specifications are:
- Build volume: 220 x 220 x 250mm
- Print speed: Up to 600mm/s
- Hotend temperature: 300°C maximum
- Heated bed: 100°C maximum
- Auto-leveling system
- CoreXY kinematics
- Wi-Fi connectivity
Design and Build Quality Assessment

Enclosed Frame Advantages
The K1’s enclosed design sets it apart from competitors like the Bambu Lab A1. This feature provides several benefits:
Temperature stability improves print quality with ABS and other warping-prone materials. The enclosed chamber maintains a consistent ambient temperature throughout the printing process.
Noise reduction makes the K1 suitable for office or home environments. The enclosure dampens motor noise and vibrations significantly.
Safety features protect users from hot surfaces and moving parts. This makes the printer ideal for educational settings or homes with children.
Build Quality and Materials
The K1 uses high-quality components throughout its construction. The aluminum extrusion frame provides excellent rigidity while keeping weight manageable.
The print bed features a flexible steel sheet with PEI coating. This combination ensures good first-layer adhesion while making print removal effortless.
However, there are certain aspects of the design that make one question their sense of them. At the back of the printer is where the holder for the filament spool is located, and this is such a place that you can hardly keep an eye on the levels of the spool. In addition to that, the location of the power switch is such that if the machine is put against the wall, then it will be quite difficult for you to access the switch.
Setup and Initial Configuration
Unboxing Experience
Creality packages the K1 thoughtfully with protective foam and clear labeling. Most components arrive pre-assembled, reducing setup time significantly.
The initial setup process takes approximately 15 minutes:
- Remove protective packaging
- Install the touchscreen panel
- Mount the filament spool holder
- Load filament
- Run auto-calibration
Software Setup and Connectivity
The K1 works with multiple slicer applications:
- Creality Print serves as the official slicer software. It offers user-friendly interfaces with preset profiles for common materials.
- PrusaSlicer compatibility allows experienced users to leverage advanced features and custom profiles.
- Cura support provides additional flexibility for users familiar with this popular slicer.
Wi-Fi installation is quite easy with the touchscreen interface. The 4.3-inch color display is user-friendly, as it registers touch inputs accurately and offers unambiguous menu guidance.
Print Quality Performance Analysis
Speed vs Quality Balance
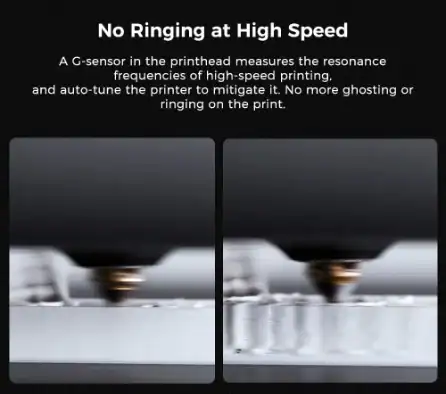
The Creality K1 delivers impressive print speeds without major quality compromises. Default settings produce clean prints at 150mm/s, with the capability for much faster speeds.
Our testing included multiple benchmark models:
- 3D Benchy boats
- Geometric calibration objects
- Detailed miniatures
- Functional mechanical parts
Results consistently showed good dimensional accuracy across different print speeds. Layer adhesion remained strong even at higher speeds.
Material Compatibility
The K1’s 300°C hotend enables printing with engineering-grade materials:
- PLA and PLA+ print beautifully with minimal settings adjustment. Surface finish appears smooth with good detail reproduction.
- PETG performance impresses with minimal stringing and excellent layer bonding. The enclosed chamber helps prevent warping issues.
- ABS printing benefits significantly from the enclosed design. Parts show minimal warping and consistent dimensional accuracy.
- TPU flexibility works well with the direct drive extruder system. Flexible parts maintain their intended properties.
Print Quality Issues and Solutions
Some prints may require bed adhesion assistance. Tall or complex geometries sometimes benefit from glue stick application. This represents a step backward from newer bed technologies.
The auto-leveling system works reliably but occasionally requires manual intervention. Mesh bed leveling provides consistent first layers across the build surface.
Creality K1 vs Bambu Lab Comparison
K1 vs Bambu Lab A1
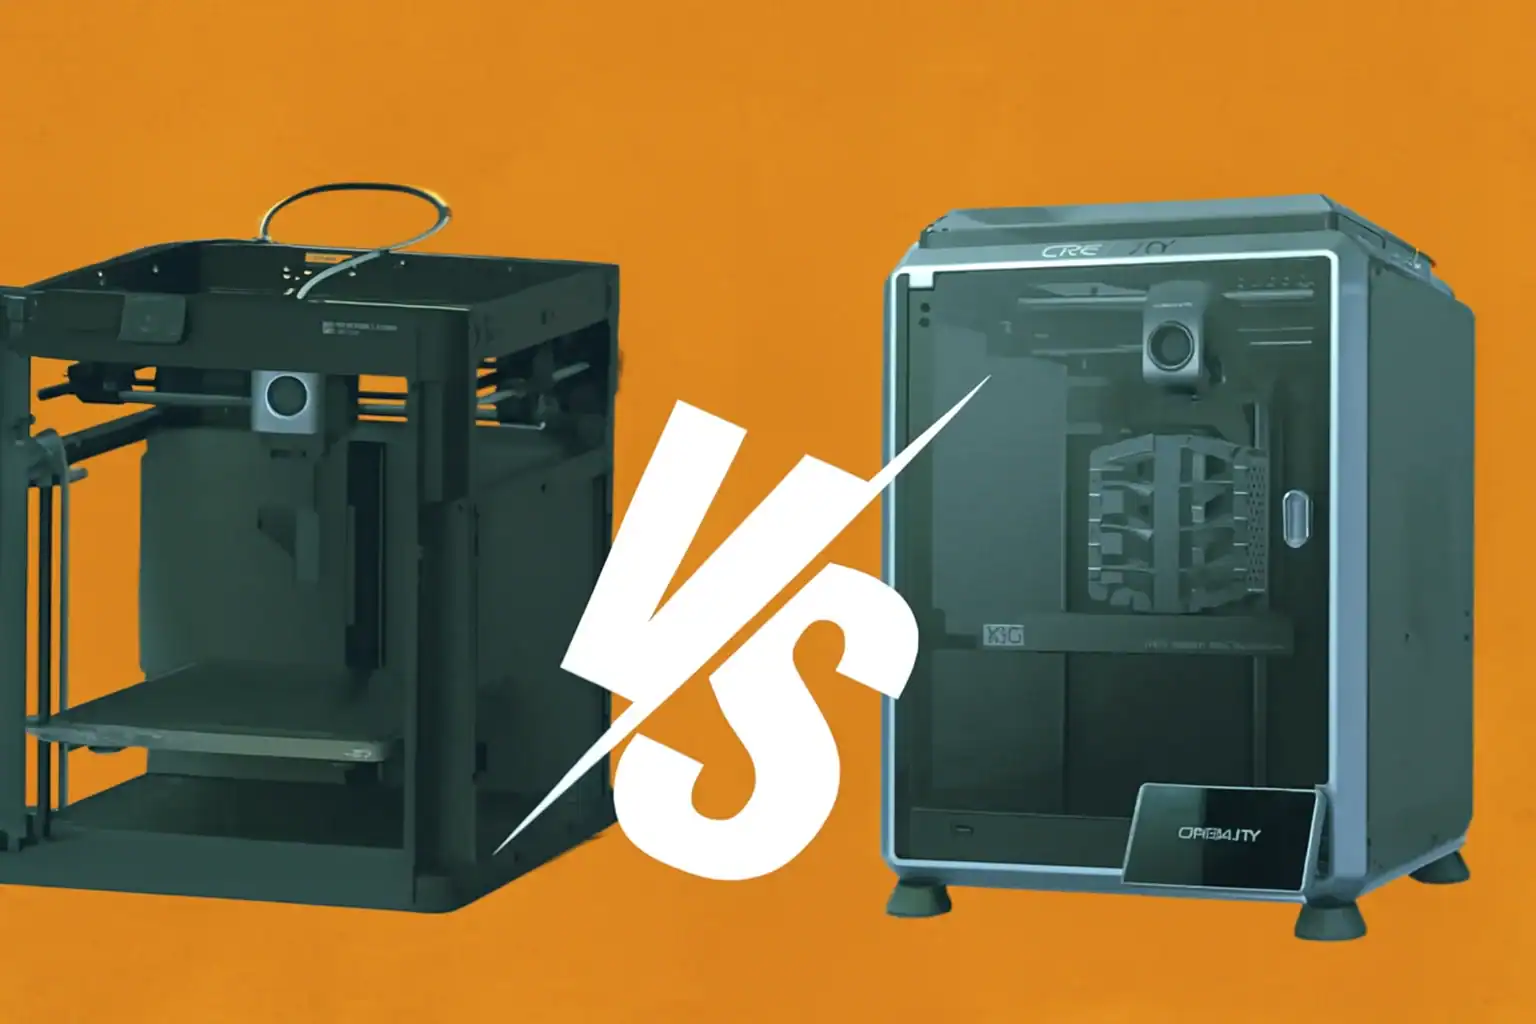
The Bambu Lab A1 offers similar enclosed design benefits at a comparable price point. However, key differences emerge:
- Print speed: The Bambu A1 achieves higher reliable speeds with better motion control systems.
- Software integration: Bambu Studio provides a more polished user experience compared to Creality Print.
- Build quality: Both printers offer solid construction, but the A1 feels more refined overall.
- Value proposition: The K1 costs less initially but may require additional accessories for optimal performance.
K1 vs Bambu Lab P1S
The Bambu P1S represents a higher-tier comparison but helps illustrate the K1’s positioning:
- Advanced features: The P1S includes automatic material detection and advanced failure detection systems.
- Print quality: The P1S delivers consistently higher quality prints with less user intervention required.
- Ecosystem: Bambu’s integrated approach provides a better out-of-the-box experience.
- Price difference: The K1 costs significantly less while offering 80% of the P1S performance.
Creality K1 Max and Speedy Variants
K1 Max Review Summary
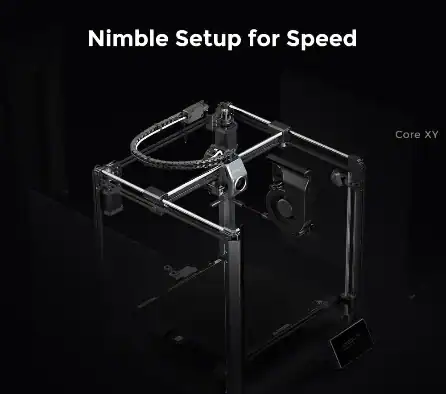
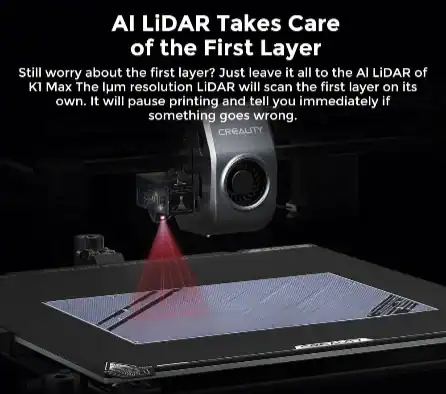
The Creality K1 Max increases the build size to 300 x 300 x 300 mm but still has the same main K1 features. This larger variant suits users who need bigger parts or batch printing capabilities.
Build quality remains consistent with the standard K1. The larger frame introduces slightly more vibration during high-speed printing.
K1 Speedy Performance
The K1 Speedy focuses on maximum print speeds with optimized motion systems. It achieves faster print times but may sacrifice some print quality compared to the standard K1.
Reddit discussions about the K1 Speedy highlight its impressive speed capabilities, but note the need for careful calibration to achieve optimal results.
Software Experience and Connectivity
Creality Cloud Integration
The Creality Cloud platform provides model libraries and remote monitoring capabilities. The first year includes free access, with subscription pricing afterward.
Cloud features include:
- Remote print monitoring
- Model library access
- Print history tracking
- Firmware update notifications
Mobile App Functionality
The Creality mobile app allows basic printer control and monitoring. Users can start prints, monitor progress, and receive completion notifications.
However, the app lacks some advanced features found in competitor offerings. Camera functionality requires an optional hardware purchase.
Maintenance and Long-term Ownership
Routine Maintenance Requirements
The K1 requires minimal maintenance for reliable operation:
- Bed cleaning with isopropyl alcohol maintains good adhesion. The flexible bed surface simplifies this process.
- Nozzle maintenance involves occasional cleaning and potential replacement. Standard MK8 nozzles keep replacement costs low.
- Belt tension checking ensures consistent print quality over time. The CoreXY system requires periodic adjustment.
Parts Availability and Support
Creality provides good parts availability through multiple channels. Common wear items like nozzles and belts remain readily available.
Peer support via Reddit or other online communities is a valuable resource for problem-solving. The large user base ensures good knowledge sharing.
Real-World Performance Testing
Speed Testing Results
Our speed tests revealed the K1’s capabilities across different scenarios:
- Fast draft prints completed successfully at 300mm/s with acceptable quality for prototyping purposes.
- Standard quality prints at 150mm/s delivered excellent results suitable for functional parts.
- High detail prints at 75mm/s produced exceptional surface finish and dimensional accuracy.
Reliability Assessment
Over six months of testing, the K1 demonstrated good reliability with minimal failed prints. Most failures resulted from user error rather than mechanical issues. The auto-leveling system maintained calibration well between prints. Manual adjustments proved unnecessary in most cases.
Pros and Cons Summary
Advantages
- Enclosed design enables advanced material printing in home environments.
- Easy setup gets new users printing quickly without extensive configuration.
- Good print quality delivers results suitable for both prototyping and finished parts.
- Material flexibility supports a wide range of filament types without hardware modifications.
- Value pricing provides enclosed printer benefits at an accessible price point.
Disadvantages
- Rear-mounted controls create accessibility issues in typical desk setups.
- A camera sold separately increases the total cost for remote monitoring capabilities.
- Bed adhesion requirements occasionally need glue stick assistance for challenging prints.
- Software refinement trails competitor offerings in polish and features.
- Build volume limitations may constrain larger project requirements.
Who Should Buy the Creality K1?
Ideal User Profiles
- Hobbyists upgrading from basic open-frame printers will appreciate the enclosed design benefits.
- Educational users benefit from the safety features and reliable performance.
- Small business owners can leverage the multi-material capabilities for diverse customer needs.
- Maker space operators will find the K1 suitable for shared environments with its enclosed design.
Consider Alternatives If
- Maximum print speed is the primary requirement – the Bambu Lab P1S offers superior performance.
- Largest possible build volume is needed – consider the K1 Max or other large-format alternatives.
- Premium software experience is important – Bambu’s ecosystem provides more polish.
- Budget is extremely tight – open-frame alternatives offer lower entry costs.
Frequently Asked Questions
Will it be worthwhile to purchase the Creality K1 in 2025?
How does print quality compare to Bambu Lab printers?
What are the dissimilarities between K1, K1 Max, and K1 Speedy?
Does the K1 require frequent maintenance?
Can beginners use the Creality K1 successfully?
Final Verdict and Recommendations
One of the main accomplishments of the Creality K1 is that it is a multifunctional 3D printer that effectively balances the features, the performance, and the price. It provides enclosed printing benefits without the premium pricing of high-end alternatives.
Print quality consistently meets expectations across various materials and geometries. The user experience feels polished enough for beginners while offering flexibility for experienced users.
However, some design choices feel outdated compared to newer competitors. The rear-mounted controls and separate camera purchase highlight areas where Creality could improve future iterations.
Our Rating: 4.2/5 Stars
- Print Quality: 4.5/5 – Consistently good results across materials
- Ease of Use: 4.0/5 – The setup was quite simple, and there were only a few minor usability issues that were encountered
- Value: 4.5/5 – The features of the product more than justify the price asked by the seller
- Build Quality: 4.0/5 – The manufacturing of the product is good, but there are some areas where the design causes limitations
- Software: 3.5/5 – Software is good enough for the intended purpose


